Among the most essential components of industrial piping systems are flanged valves, which have countless applications that include water, steam, oil, gas and chemical transport. Flanged valves ensure that pipelines are strongly and reliably connected to flow control devices and equipment. However, incorrect installation of the valve, regardless of how costly the material grade is or how good the valve quality is, is by far the fastest way to leakage issues, operational failure, or safety hazards on site.
Flanged valve installation is more advanced than merely bolting the device between two flanges in an industrial setup. Pre-installation, alignment, tightening sequence, and post-install prep to inspection entails a detailed procedure that directly impacts the valve's service and performance. Casual approaches to valve body stress control will lead to far more damage than just operational flanged leakage problems; sealing failures, gasket damage, flange deformation are just a few examples.
For this reason, every pipework contractor, maintenance head, or plant engineer needs to adopt a strict approach governed by a sequential procedure in regard to flanged valves implementation in industrial piping systems.
Preparation Before Installation
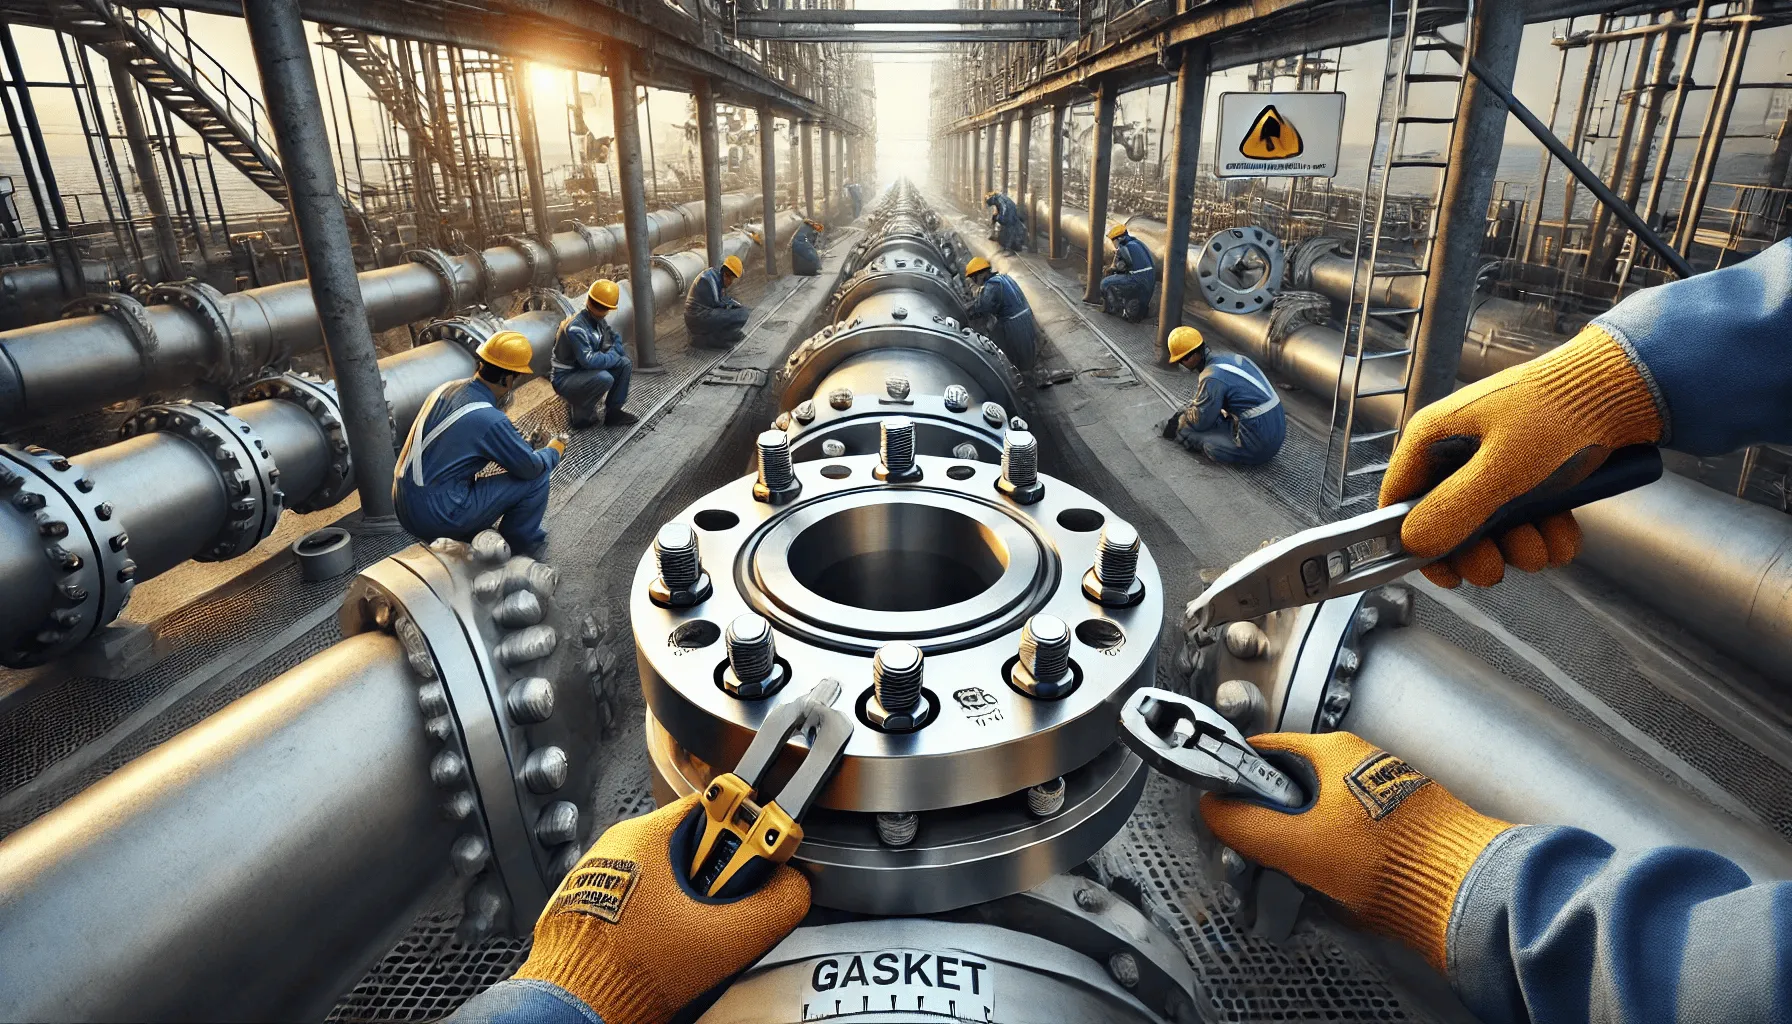
Every flanged valve installation must start from somewhere, the first is preparation. A valve needs to undergo an inspection before one opens the package. First, the valve should undergo checking with regard to physical damage, absence of some components, dust accumulation, and foreign particles within the body cavity. The flange faces of the valve must be clean, smooth, and free from rust, dents, or scratches.
As for the pipe flanges on both sides of the valve, they should undergo proper cleaning too. All dirt, residue leftover from welding, corrosion, or remnants of gaskets should be disposed of without a trace. A crucial step that is often overlooked is checking the alignment and the degree of parallel between the flange faces. Incorrectly aligned flanges exert additional strain on the valve body once bolted which increases cracking or leaking risk in the future despite forming the joint in an attempt to repair the bond.
Another crucial step that deserves attention is confirming compatibility of gaskets. The composition of the gasket must be compatible with the fluid's type, temperature, and pressure in the system. The wrong selection is bound to cause a breakdown prematurely due to aggressive chemicals present during operation.
Correct Valve Positioning and Alignment
Once the gaskets are in place, and the valve is secured between the flanges, one must make sure that the valve is in the correct position. Valves that fall under a certain flow direction category such as check, globe, and control valves should have their setting of the valve body arrow in accordance with the intended flow direction of the pipeline.
The valve must be positioned carefully between the flanges without any forcing or hammering into position. There needs to be adequate room for the gasket to seat properly without being pinched or damaged.
Flange faces should remain parallel to each other, and uniform clearance around the valve body should be present so that there is no unbalanced pressure on one side. If the piping is misaligned, it should be corrected using supports or adjustments prior to attempting to tighten the bolts.
Bolt Insertion and Tightening Sequence
Bolts need to be of the right size, length, and grade as indicated for the flange class. It is best practice to provide clean-lubed bolts and nuts to guarantee even tightening. Centering the valve becomes easier after all bolts are inserted loosely first.
Always use the criss-cross or ‘X’ method for tightening first. That means moving across rather than going around the flange in circles which allows for balanced contraction of the gasket and prevents distortion of the flange.
The first round should be done lightly, followed by a second round of moderate torque, and the last round at the full torque value of the bolt size and material. Use a torque wrench graton wrenches where tightening precision is paramount.
An arbitrary increase in tightening on one side can cause deformation of the flange, asymmetric compressing of the gasket, and all of these phenomena can contribute to pressure testing leaks.
Final Checks Before Commissioning
When the valve gets completely installed, an additional step of a deep glance inspection needs to be done in order to assess the step of bolt projection: if each bolt is at the relevant level, the gasket’s placement, the valve’s location, and the mobility of the valve’s operating system should ideally be checked. It is warded to forcibly rotate the valve to keep it open and close it for an unobstructed movement.
For high-pressure and sensitive fluid systems, it is recommended that the hydrostatic or pneumatic leakage test be done on the joints before the pipeline is in service. All gaps in the bolts during the test should be retightened to the bolts in the defined sequence; if retightened too many times on the same side, it will cause leakage.
Operators must undertake valve marking, tagging, and correct tagging in every operation where the valve is utilized to help with the recognition of valve type, size, and service reference for subsequent operations.
Conclusion
Like with every other job, the installation of industrial flanged valves is to be done with great care as it impacts not only system reliability, but also maintenance costs, maintenance, and operational safety. A damaged valve is not as expensive as the costs associated due to unreliable valves that stem from improper installation practices. A disciplined approach throughout the installation process prevents valve and piping system leaks, facilitates unrestricted movement, and increases service life.
At Indusroof, we not only offer a variety of industrial flanged valves, but also offer technical support in terms of selection, step-by-step installation guidance, and optimal practices to ensure seamless operation for years even under tough conditions right from day one.

Validate your login